Cause | Solution | Dayton Products & Services |
| High impact or compressive failure | Change punch materials | Dayton Versatile M2 & PS4, Ball Lock PS4, or TuffPunch® PS4 |
| Change to a larger body diameter punch | |
| Change from a Jektole® to solid punch | |
| Use guide bushings | Dayton Versatile product line |
| Misalignment resulting in lateral forces | Check for worn guide pins & bushings—replace, if necessary | |
| Check for loose gibs in the ram of the press | |
| Check overall die alignment | |
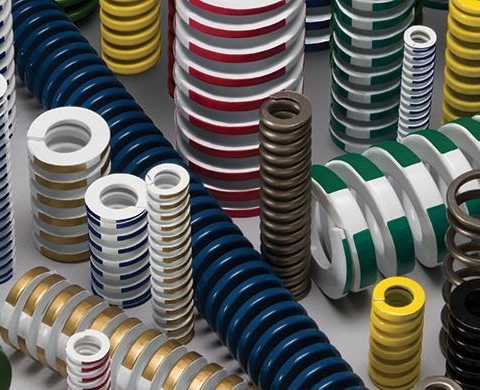
| Part material movement | Use gas or spring-guided stripper | Dayton MaxLife® Die Springs |
| Use a retainer or punch-mounted stripper | Dayton DAYStrip® or SMARTStrip™ Urethane Strippers |
| Poor material control | Review die, press, & feeder setup | |
| Excessive stripping force | Increase punch-to-die button clearance | Dayton clearance testing service |
| Reduce punch-to-die entry | |
| Coatings to add lubricity | Dayton coatings |
| Back taper on punch point "B" | |
| Polish punch point | Dayton VersaPlus® products |
| Punch point hardness too low | Verify hardness is minimum of 60 RC | Request technical assistance from Dayton to insure proper RC hardness |
| Punch point "B" too long | Reduce point length "B", if possible | Contact Dayton Regional Manager |
| Improper punch material selected | Change punch material | Dayton Versatile M2 & PS4, Ball Lock PS4, or TuffPunch® PS4—use technical assistance request form |
| Sharpening damage | Use flood coolant and proper sharpening techniques | |
| Use correct speed & feed for grinding wheel—correct grinding wheel for steel type | |
| Regrind burr | Remove regrind burr—break sharp corners on punch face | |
| Tight die clearance | Increase clearance | Dayton clearance testing service |
| Change punch material | Dayton Versatile PS or PS4, Ball Lock PS4, TuffPunch® PS4, or VersaPlus® punch |
| Coatings/surface treatments | Dayton coatings |
| Use guided stripper | |
| Sharp corners on shaped punches | Increase clearance in the corners of die button | Dayton "L" or "K" punch |
| Flat punch face | Use shear angles | Dayton XS20 or XS21 on round & shaped punches |
| Engineered edge break | |
| Improper heat treatment | Check catalog RC specification | Use technical assistance request form for metallurgical heat treat check |
| Triple tempered for high-speed tool steels | Dayton's in-house heat treatment monitored by staff metallurgist |
| Cryogenics | Dayton's in-house heat treatment monitored by staff metallurgist |
| Punch RC wrong for application | Lower RC hardness | Contact Dayton Regional Manager |
| Improper punch stagger | Stagger should be less than the burnish length of the part material | Contact Dayton Regional Manager |
| Cut-off operation & large point punches first to enter | |
| Improper finish on punch point and/or punch face | Insure there are no harsh grinding or turn marks on the punch point and/or punch face | Contact Dayton Regional Manager |
| Grinding burn on punch point | Purchase punches from ISO certified source | |
| Part material above 85,000 PSI | Change punch material | Dayton Versatile PS4, Ball Lock PS4, or TuffPunch® PS4 |


